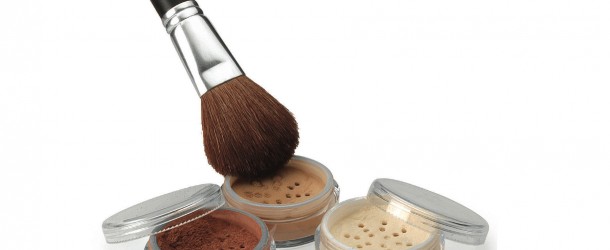
A lot of people are turned off by mineral makeup because it can be a messy process. I personally think the quality of mineral makeup is worth the extra effort. Mineral makeup, if bought from independent companies, tends to be cheaper than high-end or even drugstore makeup, yet they use the same ingredients (and can easily be customized to be vegan and sensitive skin friendly).
Tip #1: Don’t apply to dry skin.
Mineral makeup is meant to work with the natural oils of your skin to create a natural finish. If your skin is dry, the makeup will cling to any dry, patchy areas left on your skin. It also won’t have completely even coverage since the makeup doesn’t have anything to cling to. I recommend starting out with a toner in the morning instead of cleansing with soap, and follow up with a light moisturizer if you have combination/dry skin. You could also use a primer if you want an extra smooth canvas to work on.
Tip #2: Eyeshadow bases make a huge difference with mineral eyeshadows.
Mineral pigments have a much easier time sticking to the eyelid when you apply a sticky base underneath. You don’t need any fancy products; I just use eyeliners in various colors as my bases. Urban Decay 24/7 make great, waterproof eyeliners that work well as bases; I also enjoy using the E.L.F. cream eyeliners & shimmer eyeliners as eyeshadow bases. Remember, dark bases will deepen and intensify colors. Light, shimmery shades will brighten and add dimension to the colors you apply on-top. Also, the colors you choose will slightly change the appearance of the eyeshadow, giving you endless possibilities with your makeup.
Tip #3: Foil eyeshadows for extra intensity.
Foiling is a very simple process. You can use a makeup palette or just use the lid of your mineral eyeshadow. Take a few drops of water (start out slowly and add more if needed) and mix in a good amount of pigment. You want to create a paste like consistency to achieve the most saturated color. Apply to your eyeshadow base, let dry for a few seconds, and that’s it! It creates more intense pigmentation and also helps to set the color so it lasts longer on the eyelid.
Tip #4: Use the correct makeup brushes for each specific product.
Eyeshadow Pigments: I like to use a flat, thin shader when applying all over color to my lids. This really helps cut down on fall out, and ensures you apply your product in a thin, even layer. I actually really enjoy using the E.L.F. Studio concealer brush for mineral eyeshadows!
Foundation: If you only need light coverage, a large face kabuki will provide a flawless finish to your skin (I enjoy the E.L.F. Studio face kabuki). If you want heavier coverage in certain areas, go in with a flat top powder brush. I enjoy the Everyday Minerals short handle powder brush for traveling and the E.L.F. Studio flat top powder brush works well too.
Blush: Less is more when applying mineral blush. Its easy to add too much since mineral makeup tends to have less filler and more pigment. Start out slow and build with up with a fluffy face brush. I enjoy using the E.L.F. Studio complexion brush. If I get too much blush on, I simply buff it out with my kabuki brush until it looks more natural.
Tip #5: Spritz makeup with a toner for a dewy finish.
If your makeup is looking a bit too powdery, pour some of your favorite toner into a spray bottle and lightly mist your makeup. This sets the powder and keeps your makeup fresh. You can re-spritz throughout the day to refresh instead of reapplying your makeup constantly. Less is more with mineral makeup if you want it to look natural.
